
Seriously Married: How we created custom wedding invitations inspired by our first date

Everyone loves a fun invite. So when it came time for us to send out our wedding invitations, we saw it as a chance to set the stage for the unique, nerdy wedding to come.
Alex and I had only been dating for a few months when COVID hit. It escalated our relationship quickly; we moved in together after just three months and got engaged after two years. We did our best to spend the pandemic connecting virtually or hanging out at socially-distanced outdoor gatherings with loved ones, but we came to realize that many of our wedding guests hadn’t gotten the opportunity to spend time with us as a couple. Here we were inviting them to the wedding of Alex and Dani, but they didn’t exactly know who Alex and Dani were.
Thankfully, that’s where our wacky invitations came in! We knew we wanted to do something beyond just a traditional mailed envelope. Instead, our invitations would be story-driven care packages. It’s one of the most seriously nerdy things we’ve ever done.
We had already selected the bar where we had our first date as our wedding venue. Alex and I researched sentimental objects and items we could buy in bulk and send to our invitees and circled in on a single idea: recreate our first date through a wedding invitation package.
That way, guests attending our wedding would understand the story and significance behind the wedding location and learn a little bit about each of us through the invitation.
Step 1: Hone the concept
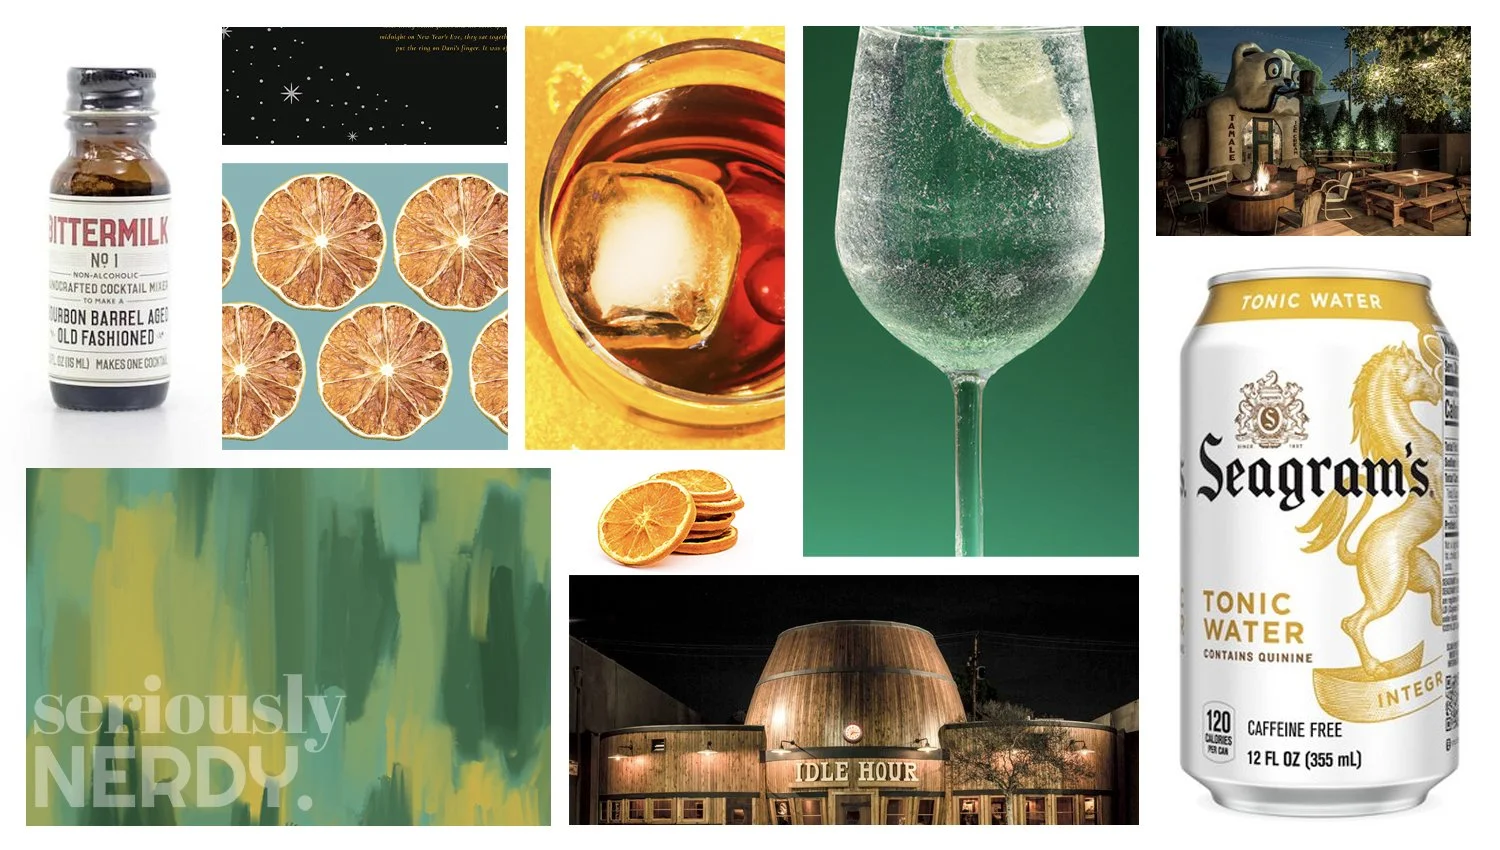
Alex and I met for our first date at Idle Hour, a historic barrel-shaped bar in North Hollywood, California. We spent the evening ordering our go-to cocktails: a Gin and Tonic for him and an Old Fashioned for me. We liked the idea of being able to send a package recreating that date with the ingredients for invitees to make their own versions of these two signature cocktails at home. That idea gave us a list of items to include: Gin and Tonic stuff, Old Fashioned stuff, and cocktail accessories. We’d also include the standard invite things, like a printed invitation and paper inserts for our wedding website QR code, drink recipes and RSVPs. It would all be packaged in a custom box so it felt like a curated experience when opened.

Step 2: Source the items
We scoured the internet and sourced items from all over. For the Gin and Tonic, we purchased mini cans of tonic water, dried limes, miniature clothespins and cocktail napkins from Amazon. We tried lots of pre-mixed Old Fashioned syrups before settling on Bittermilk’s mini bottles, which we bought directly. And for cocktail accessories like custom-branded beverage picks, we looked to Etsy. As a design nerd, I’d always dreamed of having a letter-pressed invitation, where the design is literally engraved on a metal plate and pressed into paper, giving the invitation amazing texture and depth. I found an incredible artisan on Etsy, Bayou Letterpress Shop, who helped my dream come to life! We looked for items that fit our color scheme, size requirements and price point. Thankfully, the Internet is your friend!

Step 3: Create the packaging
Again – we did so much internet research comparing pricing for items to make sure we got the best deal. I ended up choosing Packlane to manufacture our custom invitation boxes. I can’t recommend them enough! We measured the dimensions we’d need to fit our items and they provided a template for the exact box size we’d chosen. I used the same colors and fonts seen on the other invitation elements to create a unique box that included story elements throughout. Our favorite easter egg was hiding inside jokes on the folded inside flap of the box, so anyone who broke the box down for recycling was rewarded with a little humor.

Step 4: Pack ‘em up
Items like custom packaging and letter-press invitations do have longer lead times, so it took about a month and a half for everything we ordered to arrive. Once we had all the pieces, Alex and I made an assembly line of folding boxes, putting in crinkle paper, cocktail accessories and paper goods before sealing the package up. Our apartment briefly looked like an invitation factory.

Step 5: Ship
I left empty space on the top of the box design for a shipping label and we got to printing. I use a site called Pirate Ship for all my mailing and they’re so good for large-batch shipments at great prices. For the small boxes we were sending, USPS First Class ended up being our most affordable option, with our 15 ounce boxes costing $5-7 depending where in the country they were headed. In all, these little invitations came out to about $20 per box with shipping. That’s significantly more than a standard invitation would be, but we were keeping our guest list small and were happy using part of our budget for something so unique and fun.

The design details: How to avoid decision paralysis
When it comes to wedding planning, the amount of information and resources can be overwhelming! In 2023, we have so many custom and print-on-demand options that your choices can seem limitless. And with the world at your feet, nailing down a decision can seem impossible.
If there’s one thing I know about tackling overwhelming design choices, it’s that sometimes “thinking inside the box” helps. So we started with the constraints and worked from there. For things like wedding and special event stationery, those constraints might look like:
limited color availability for things you’re not custom-printing, like envelopes, cocktail napkins, and stamps, or if you’re a maker, limited color availability for materials like Cricut vinyl, tissue paper, 3D printer filament
limited font or color selection on wedding websites like The Knot or Zola
desire to match already-selected elements like venue decor, wedding party attire, cake or florals
Once it was time to start designing, we used a color scheme inspired by Seriously Nerdy itself, since the colors are nods to Alex’s favorite color, hunter green, and my favorite color, marigold. We brought in a fair amount of kraft paper tan and cream into our color scheme, too, knowing that in a flash, we could source stock elements in those colors. For font selections, we let the 1940s construction era of Idle Hour drive some of our design choices, as well as the limited font selections on our wedding website, Zola. This is one of those times that it pays to be thoughtful at the outset, because once you lock in those design choices, they’ll be your guide for the rest of the event planning. If you’re having trouble getting started with a design idea that speaks to you, here are a few thought starters:
Do you have a concept or theme already in mind? What are examples of stationery, signage, or packaging that already exist within that idea?
Are you inspired by the venue itself? Does it have an interesting history? A unique design feature? A quirky color scheme?
What about the story of you as a couple? Do you want your wedding to reflect a favorite date, vacation or memory?
Is there an image on your mood board or on Pinterest that you keep coming back to? Could you pull inspiration from the colors or styling in that image?

Creating consistency: Using your story to create design details
We created a few custom design flourishes during the invite phase that we carried into everything from our invitation packages to our wedding signage. They weren’t complicated or time consuming, but I find that weaving those elements throughout the event helps create unity. It also saves you from going overboard later on in the process. Choosing a few design details and using them consistently not only makes your event style cohesive, it can keep you focused and on-track. That way you’re not tempted by the thousands of other design ideas you’ll see on the road to your big day!
Our choices don’t have to be your choices, but we ended up settling on four design elements that we used throughout the wedding: a pattern, an icon, a family crest, and some scatter shapes. From invite to event signage to thank you cards, these were the elements we repeated over and over again to create a unique “brand” for our wedding in a barrel. Combined with a color palette and a few core typefaces, these were all we needed to create everything from first invitation to last thank you card.

Floral Pattern
This repeating pattern was done in a loose illustration style and captures florals that are unique to us: poppies (the state flower of California, Alex’s birthplace), saguaro blossoms (the state flower of Arizona, Dani’s birthplace), ranunculuses (Dani’s favorite flower), eucalyptus and lemon blossoms.
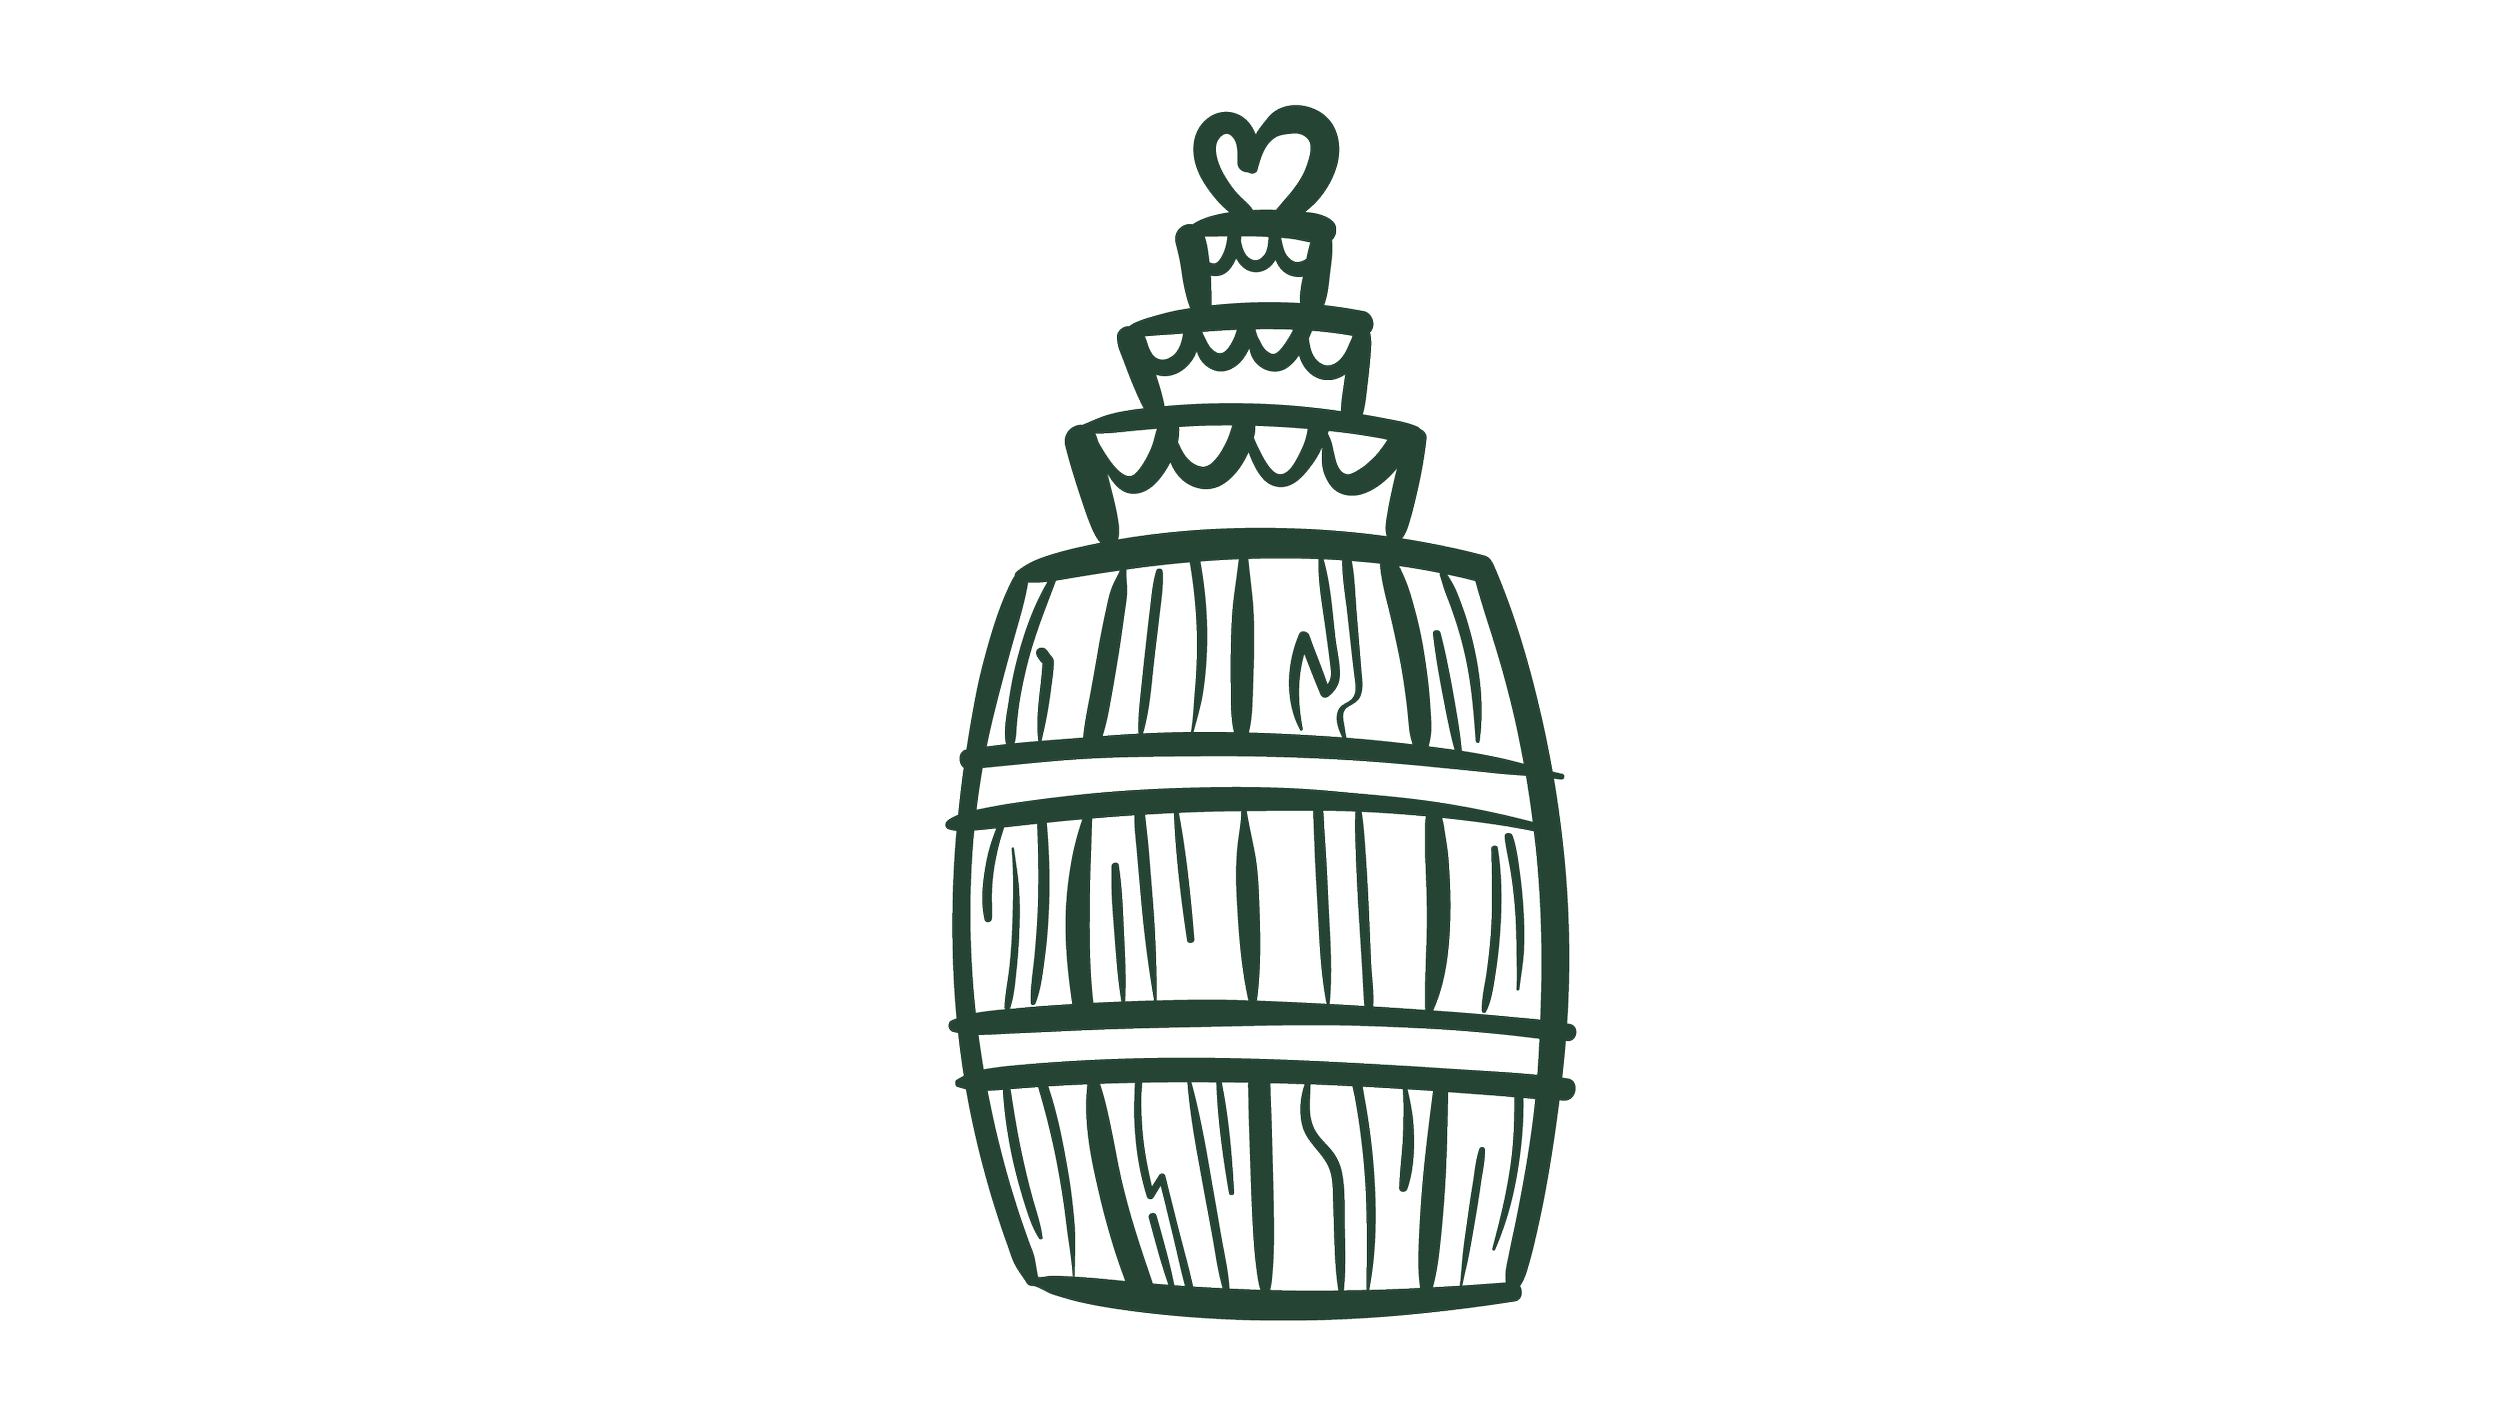
Wedding Cake Icon
This little icon, done in the same loose illustration style of the flowers, was a tribute to our “wedding in a barrel” theme. It felt personal but not overly cheesy.

Ironic Family Crest
I really wanted a wax seal somewhere because I am a giant dork, so I started with the Foster family heraldry and modified it to a tongue-in-cheek version that’s specific to us. I changed the three bugles and a green chevron (Foster) to three squirrels holding said bugles. This is what happens when the Iglesias family doesn’t have heraldry. I make a squirrel version.
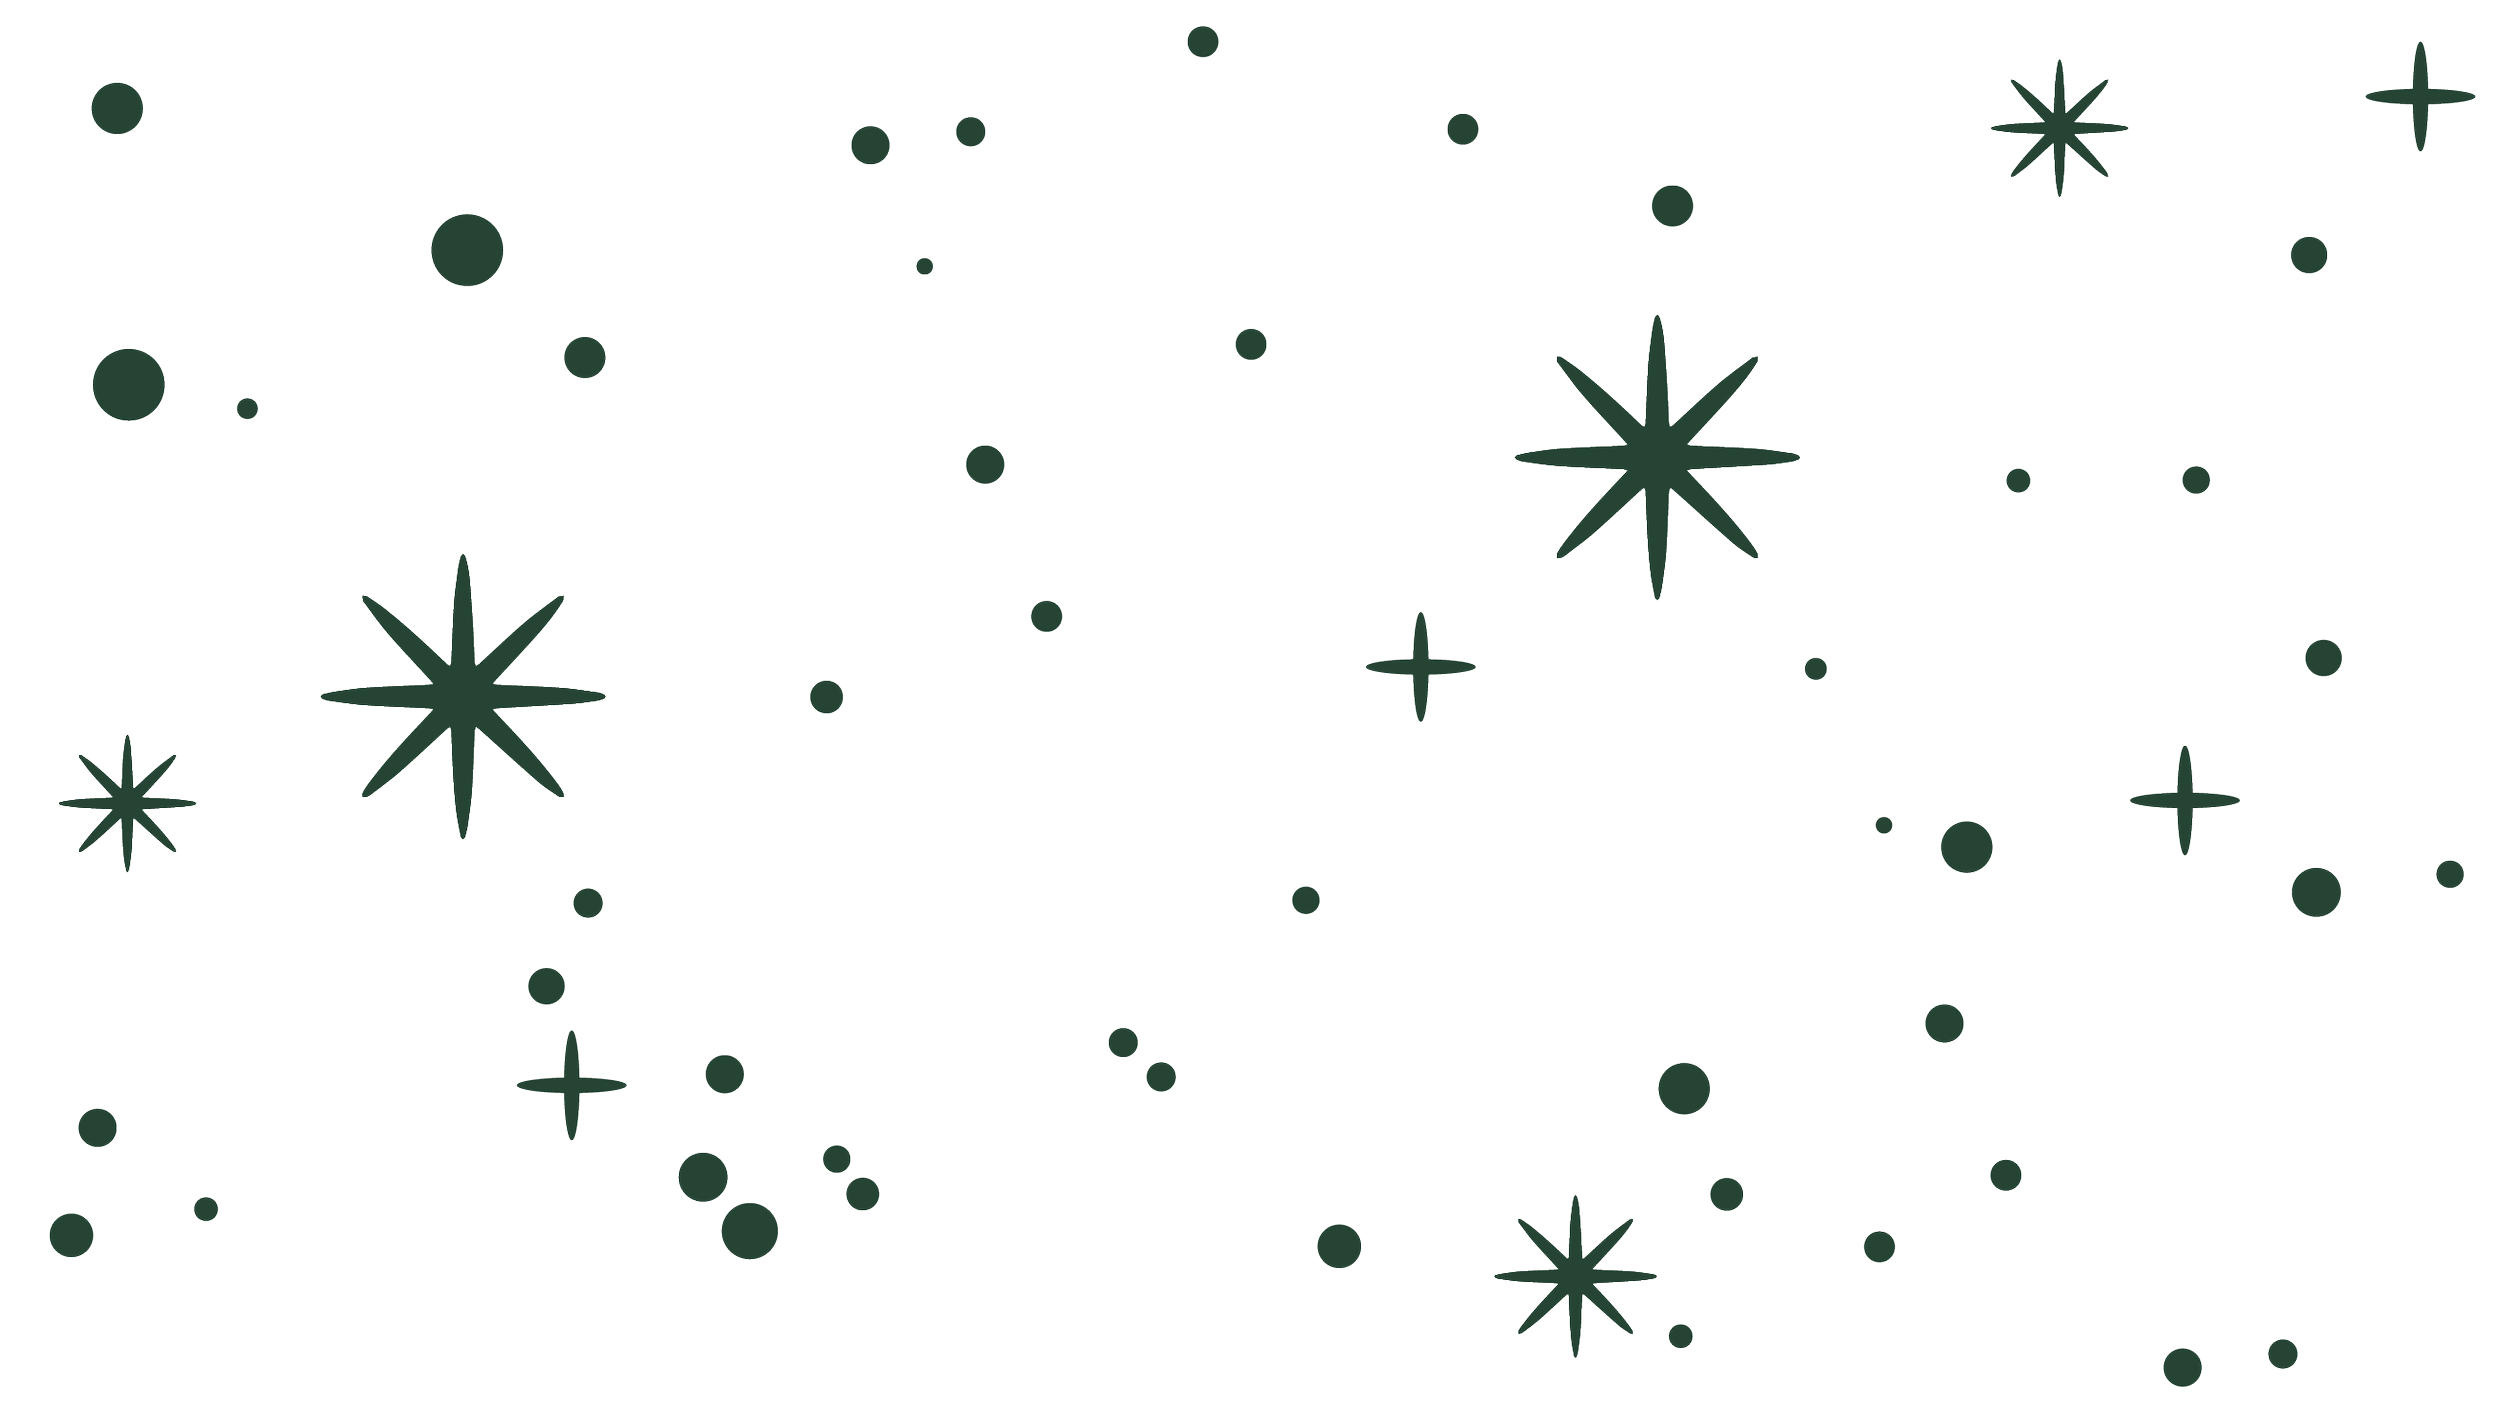
Starry Scatter Shapes
The wedding website template we used through Zola had a variety of scattered star shapes on the webpages. I wanted everything to look intentional, so I designed similar star shapes and used them throughout our invitation suite. Sometimes a hack of making something look “designed” is by making the unintended look intentional. Boom. Design.

I’m a graphic designer by trade so I created all the designs for our invitations myself. But that doesn’t mean you have to! The thing you’re an expert at is your own story, and your vision for your event. If you’re not a designer but you still want to incorporate DIY elements for your big day, you could work with a freelancer, art student, or Etsy shop to have them craft a few design elements that you can plug into templates online yourself. Consider having them deliver final files in several file formats and in several colors from your color scheme so you have a mini toolkit of design pieces you can work with.
A color palette, typeface selections, and a few unique design elements is really all you need to create a whole wedding suite design. This blog post was specifically about how we created invitations, but once we had these initial choices made, the other elements fell into place easily. We could use all these same pieces to create our menus, seating cards, signage and more. So don’t let the whole internet cripple you with options – go with your gut, fall in love with your choices and then stick to it!
Do we think every couple needs to send a curated care package as a wedding invitation? Absolutely not! But if you’re exploring your options and aren’t sure where to start, we hope this peek into our seriously nerdy wedding design process was helpful. Cheers, nerds! And happy planning!
•••
A quick note about the links in this post: We’re not affiliated with any of these businesses or vendors, so if we’re mentioning anyone by name, it’s truly because we loved their services! Seriously Nerdy doesn’t get any commissions or incentives from these types of things. We’re just nerds who believe in spreading the news about good peeps.