
Breaking into miniature painting
I have to preface this by saying I’m not an avid tabletop roleplaying gamer. I’ve played a lot of board games, and at some point I’ll list my faves for y’all to scoff at and judge. But when it comes to D&D and other popular systems, I’m a rookie. My brother got all the D&D genes… he’s been trying to recruit me for years, but to no avail.
All that to say that despite this, I am strangely and seriously nerdy about the activity of painting tabletop miniatures.
The world of Dungeons & Dragons provides a fascinating variety of creature and character types, and a couple companies manufacture an exquisite array of unpainted pieces that you can buy and paint to place on your little square grid maps while you play. Plus, there’s Warhammer, which is pretty much all about the little plastic dudebros. So when I finally found myself immersed in a D&D campaign with friends, I immediately fell in love with the idea of painting miniatures. I kept thinking, “This dungeon has skellingtons in it, we should have skellington minis!” Or “I could paint a troll! Big ol’ sloppy troll.” One thing led to another, and well, suddenly I found myself owning a small posse of unpainted baddies. Whooooops.
Also, if you just want the units and don’t want to paint them, that’s totally fine. Some pre-painted units are available for sale. You can also go to HeroForge.com and design your own character. They offer an incredible character designer that allows a ton of poses and types, ranging even into modern or futuristic unit builds. They also now offer painted units, so all the work is done for you. I designed and ordered a unit from Hero Forge and then paid a friend to paint the unit for me, because I was way too nervous to have my own character be the first thing I painted (and the pre-painted option wasn’t available yet). But to me, the intention was to learn to paint these badboys, so I started with a combination of two key resources: miniature painting kits and online guides/tutorials.

Get Them Kits
Reaper Bones makes a wonderful series of “Learn to Paint” kits. I recommend buying the Core Skills kit and the Layer Up! Kit. They include a paint, couple brushes, and 3 minis to learn on. They also tell you step by step how to paint each of the minis. Don’t get me wrong, these kits are cheap:
The paint is thin, so you’ll probably have to do a couple coats and it doesn’t spread evenly. They’re also inconsistent viscosity, so some are runnier than others.
The units are cheap and light, smaller than most you might buy, and they may be bent or warped when you get them.
The brushes are cheap, and don’t keep their tips long. And drybrushing will murder one of those brushes, so just be prepared for that.
But keep in mind that the point isn’t to make mind-blowing units the first time around. These guys are practice units to get you where you’re confident to start choosing your own color schemes, and deciding the shading and highlights yourself. So just power through. By the end of those 6 dudes, I felt confident to move on to my first legit projects, and I was mildly proud of how a few of them came out. I had a nice little visual guide of things I learned and goofs that I goofed.
Watch Them Tutorials
Now that you’ve done the step-by-step grind, I’d definitely recommend diving into some other mini painting resources. There are tons of wonderful painting tutorials available online. The kits are nice for when you want a lot of guidance, but actually watching someone execute the steps of painting is very different, and the commentary is invaluable. It also shows you what’s possible. My friend AJ pointed me to these first two as a good primer (Primer, get it?):
How-To-Paint-Miniatures: Here’s a general step-by-step guide for the stages of painting, plus a link for some recommended equipment to have.
Sorastro’s Painting: He’s a talented painter and has a lot of tutorials and guides. I like throwing his Youtube videos on in the background while I work, and rewatching them to see various stages of the process.
Miniac’s YouTube Channel: I stumbled across Miniac while trying to understand the nuances of drybrushing after completely whiffing on one of my kit units. He has solid production value, and I must’ve watched his “Getting Started” playlist from end to end about 6 times. It’s surprising how big a difference a decent mic and some humor makes in a video.
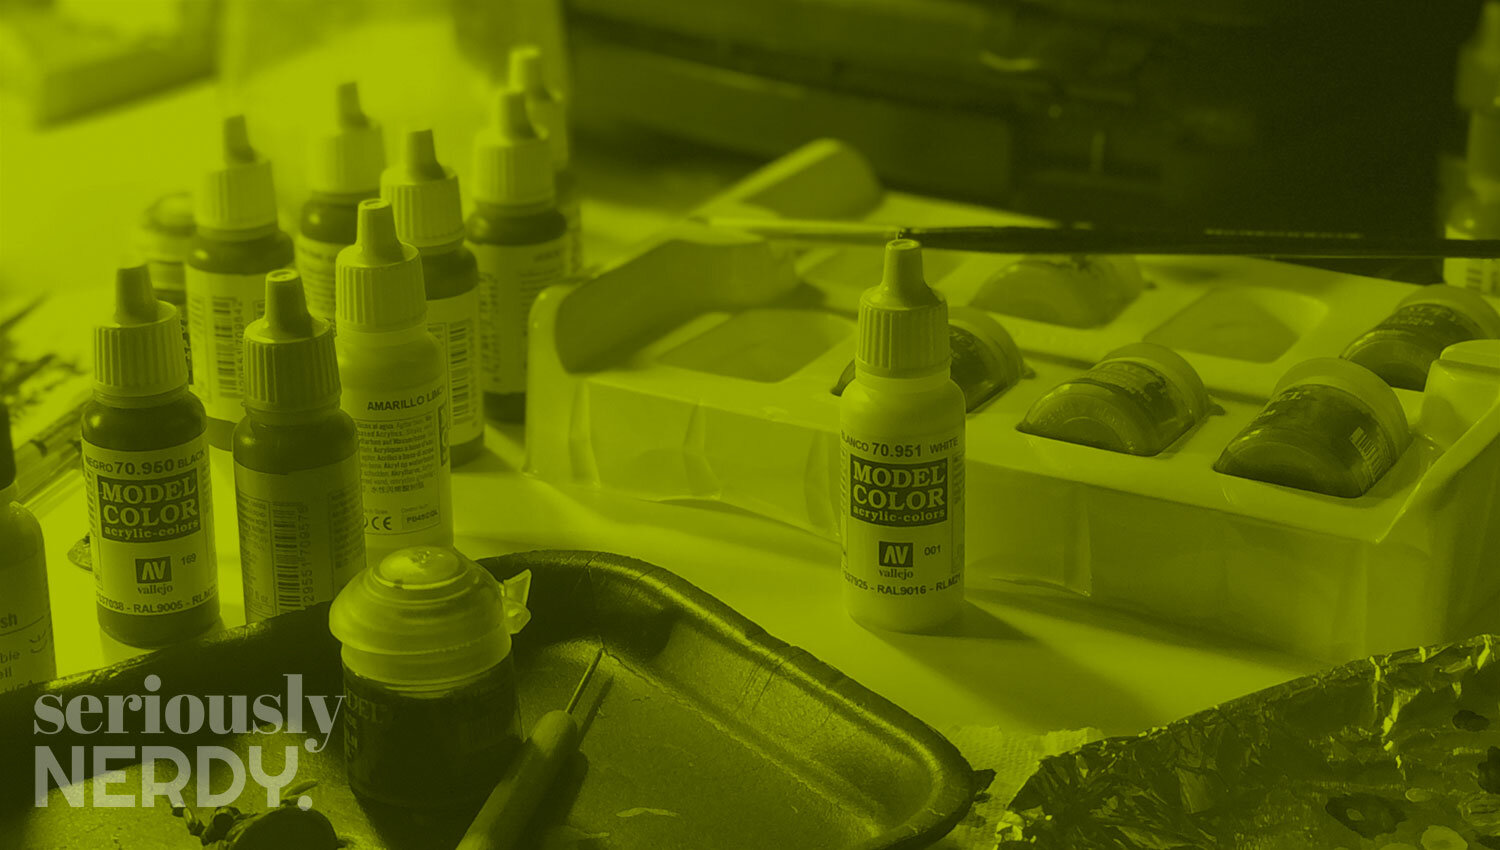
Buy More Goodies
If you’re like me, you discovered that those starting kits were frustrating. There must be better, easier brushes and paints. Guess what? There are. Yes, I sent you into the weeds, but you came out with a level 10 Bulbasaur and 50 Rattatas, and you’re stronger for it. Now you can get the good stuff!
Paint: Vallejo Paints. Accept no substitute. Just buy the Basic USA Colors, that will get you on your way.
Paint (Shades): I lied. You’ll eventually realize that having to water down paints for shading sucks. Get some Nuln Oil from Games Workshop’s Citadel series. And maybe a whole kit of the Games Workshop Citadel shades. They’re so easy to use, it’s just brush on and done. I don’t really like the pot system for the paint containers, you have to keep going back to the pot and I’ve knocked them over a few times. However, with shading, it’s worth it and you probably waste less paint in the long run by having to go back to the pot.

Brushes: I haven’t found the perfect brush yet, unfortunately. I’m still experimenting. I highly recommend getting some very fine-tipped brushes, since miniatures usually have a lot of fine details. I used this D’Artisan Shoppe set to start: I haven’t noticed a huge quality difference between brands. You can also try your local Michaels or craft store and see what they have.

Brush Soap: This should help preserve your brushes for longer. I’ll run my brushes through and rinse a few times, then coat them and let them dry. It does seem to help keep them from breaking down as fast.
Palette: I have a wet palette, but I honestly haven’t even tried it yet. I’m not painting with that level of frequency to justify preserving paint overnight. Right now, I use a cheap plastic tray like what the kiddies use for watercolors. I like to cover it in foil so I can just strip it off once I’ve used up the whole tray a bunch and want a fresh start.
Solid LED Light/Magnifier: The magnifier isn’t as important, but a bright, flexible light made a big difference for me. Just using natural light from a room doesn’t really cut it. I have something like this that I found at Michael’s or Joann Fabrics.
An Old Mug: Find a mug you hate. Maybe a gift from an ex or a selfish boss. It’s now your paint mug. Let it grow nasty from acrylic rinsing. Over time, it will be forever tarnished by the watery pigments, and serve no other purpose but for you to rattle your drying brushes in. If something goes wrong, blame the mug. The mug is your painting scapegoat.
Painting Handle (Optional): You may want a painting handle to improve your grip of your dudebros when you paint. I have the standard Citadel one. I don’t always use one, it really depends on if it helps or hinders your ability to hit the spots you’re aiming for. It’s got a little clamping part on the top that loosely holds the unit so you don’t have to grab areas that you’ve painted. You can also just tack him to anything that shape with a bit of tape or putty.

Minis to Paint: You need some cool things to paint! You can find a variety on Amazon, but I recommend supporting your local tabletop gaming or hobby store. The prices are comparable, and you’ll usually get a fun variety of options to look at that you might not easily see online. The D&D branded units and WizKids seem to be a higher quality plastic, but you pay a premium for them. The Reaper units can vary pretty widely in quality, but seem to have some of the most fun character designs. I found a delightful scarecrow that I painted in the style of Scary Terry from Rick and Morty. Seriously, go crazy. If you don’t have a local mom and pop shop, check out Miniature Market. We bought a ton of units so we could get free shipping, and we’re still working our way through all of them. It’s sheer delight.
Final Takeaways
Try to practice good posture and take breaks. I find I hunch when I paint, which means I end up with kinks in my back for days. Don’t beat yourself up if you make mistakes. Painting takes a while to learn, and much longer to get good at. Enjoy what you create! I get so much satisfaction out of seeing what I’ve painted. It may seem tedious at times, but you’ll look back at these guys and feel like a badass, even if they have a few flaws. Don’t buy an airbrush unless you’re willing to invest the time and energy in learning to use it. It will raise your game, but for something small, it won’t save you that much time. If you’re getting into zenithal priming, then maybe it’s exactly what you want, but just know that it’s a bit of a learning curve. Happy painting, ya big ol’ nerds.